Creating your first event
The seven steps from an empty dashboard to an event page that is ready to publish, and what to get right at each one.
7 min readChecked against the live platform on 26 July 2026
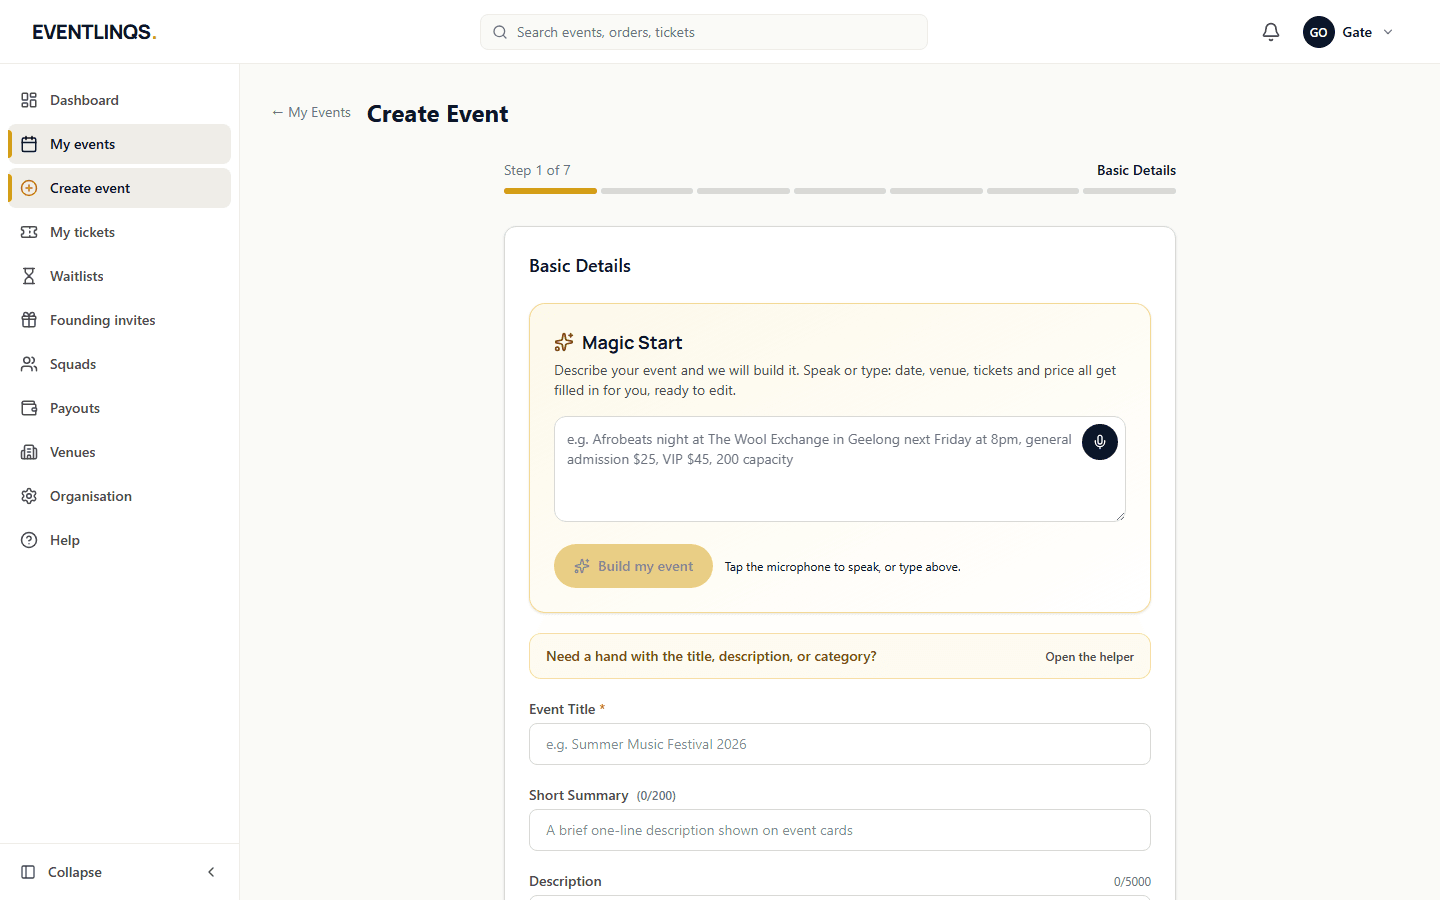
Everything you sell lives under an organisation. If you have not made one yet, the dashboard sends you to create it first: a name, a contact email, and you are through in about a minute. The organisation is what buyers see as the host, and it is what your payouts are paid to, so use the name you want on the ticket.
From the dashboard, go to My Events and choose Create Event. The form runs in seven steps and saves as a draft the whole way, so you can stop after step three, go and find a better photo, and come back to it.
The seven steps
Basic Details
Title, category and description. Write the title the way someone would search for it: what it is, and where or who. A title that reads well in a share preview is doing two jobs at once. The category decides which browse and discovery surfaces your event appears on, so pick the closest real fit rather than the most flattering one.
Date and Time
Start and end. The end time matters more than most organisers expect: it drives when doors close on the scanner, when your reach reporting settles, and when the clock starts on your payout. Set it to when the event actually finishes, not when the venue closes.
Location
Search for the venue and let the map pin it. A pinned venue gets a working map on the event page and correct city and suburb placement in discovery. If you are using reserved seating, the venue you pick here is the one whose seating charts you can apply later, so choose it before you draw a room.
Event Media
The first image in the list is your cover. It carries the event card, the top of the event page, and the link preview when anyone shares it. Upload it early: the image appears the moment it finishes uploading, so you can see the crop before you commit. Landscape works best, and faces or the crowd read better at card size than a wide empty stage.
Tickets
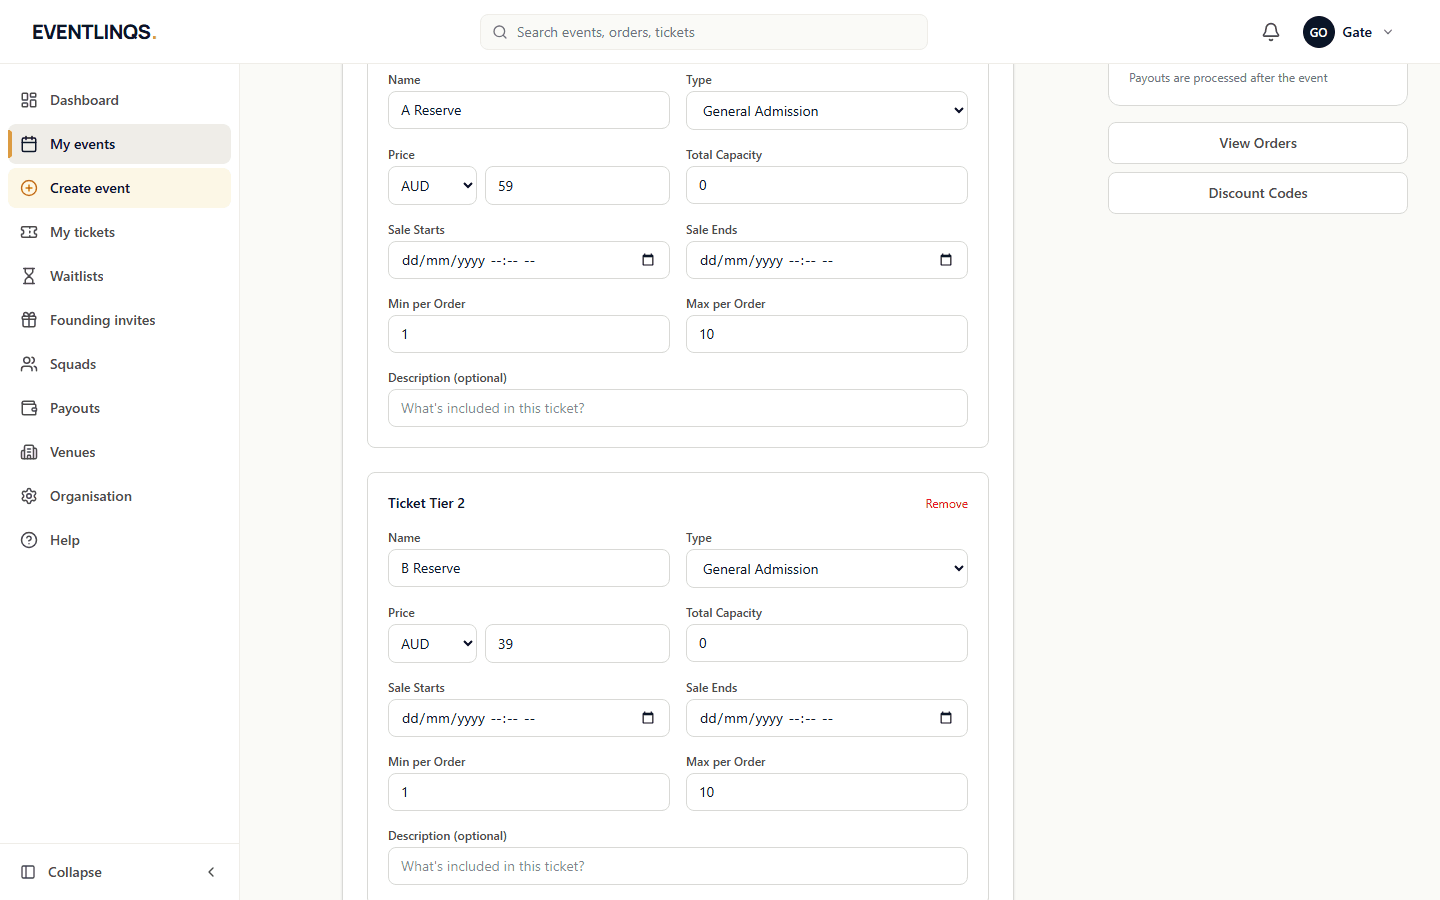
Each ticket type gets a name, a price, a quantity and an optional sale window. Name them the way you want them read on the door list, because the name you type here is the name the seating chart matches against later. Free events stay free: there are no fees of any kind on a zero-priced ticket.
Settings
Your refund policy, whether fees are absorbed or passed on, capacity rules and the extras. The refund policy is shown to buyers before they pay and you are bound by what you set, so write the one you will actually honour.
Review and Publish
The last step lists anything still missing and lets you publish. Until you publish, the event is a private draft and no link to it works.
What to fix before you publish
- A cover image that still reads at card size. Open your own event page and look at it small.
- A description that opens with what the night feels like, then covers who it is for, what happens and what is included.
- An end time that matches reality, because your payout clock and your door scanner both use it.
- Ticket names you are happy to see on a door list and on a seat.
- A refund policy you will honour, because the buyer sees it before they pay.
Once the event is live, the dashboard switches the Launch Kit on for it: your share links, a printable poster, the link preview card and your reach reporting, all built from the event you just made. That is the next thing worth ten minutes.
Read next
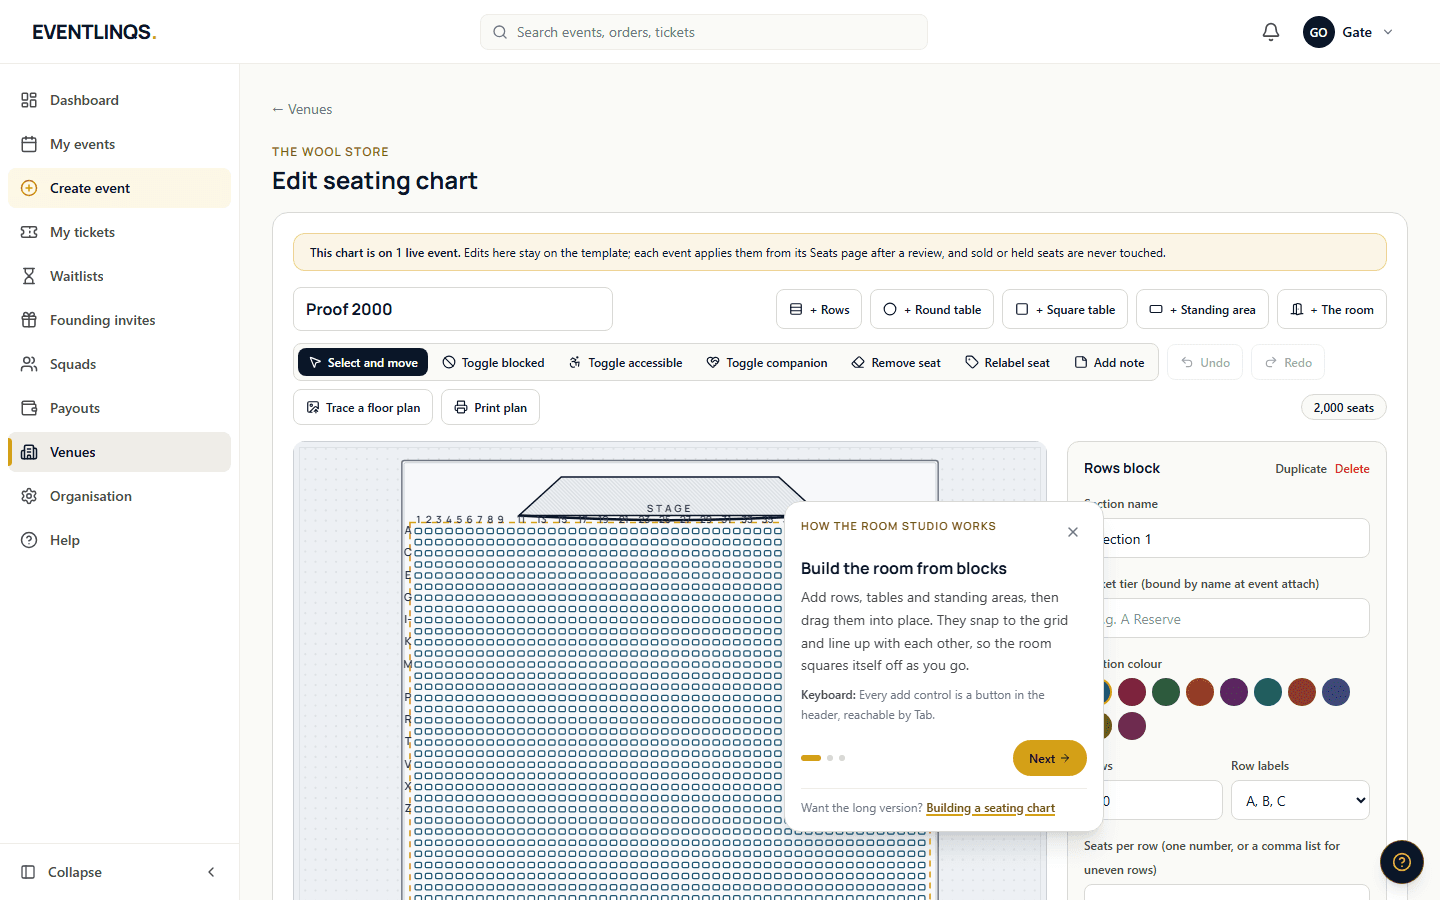
Seating and rooms
Building a seating chart
Draw your room once in the studio, from rows and tables to the stage and the bar, and reuse it for every event at that venue.
9 min read
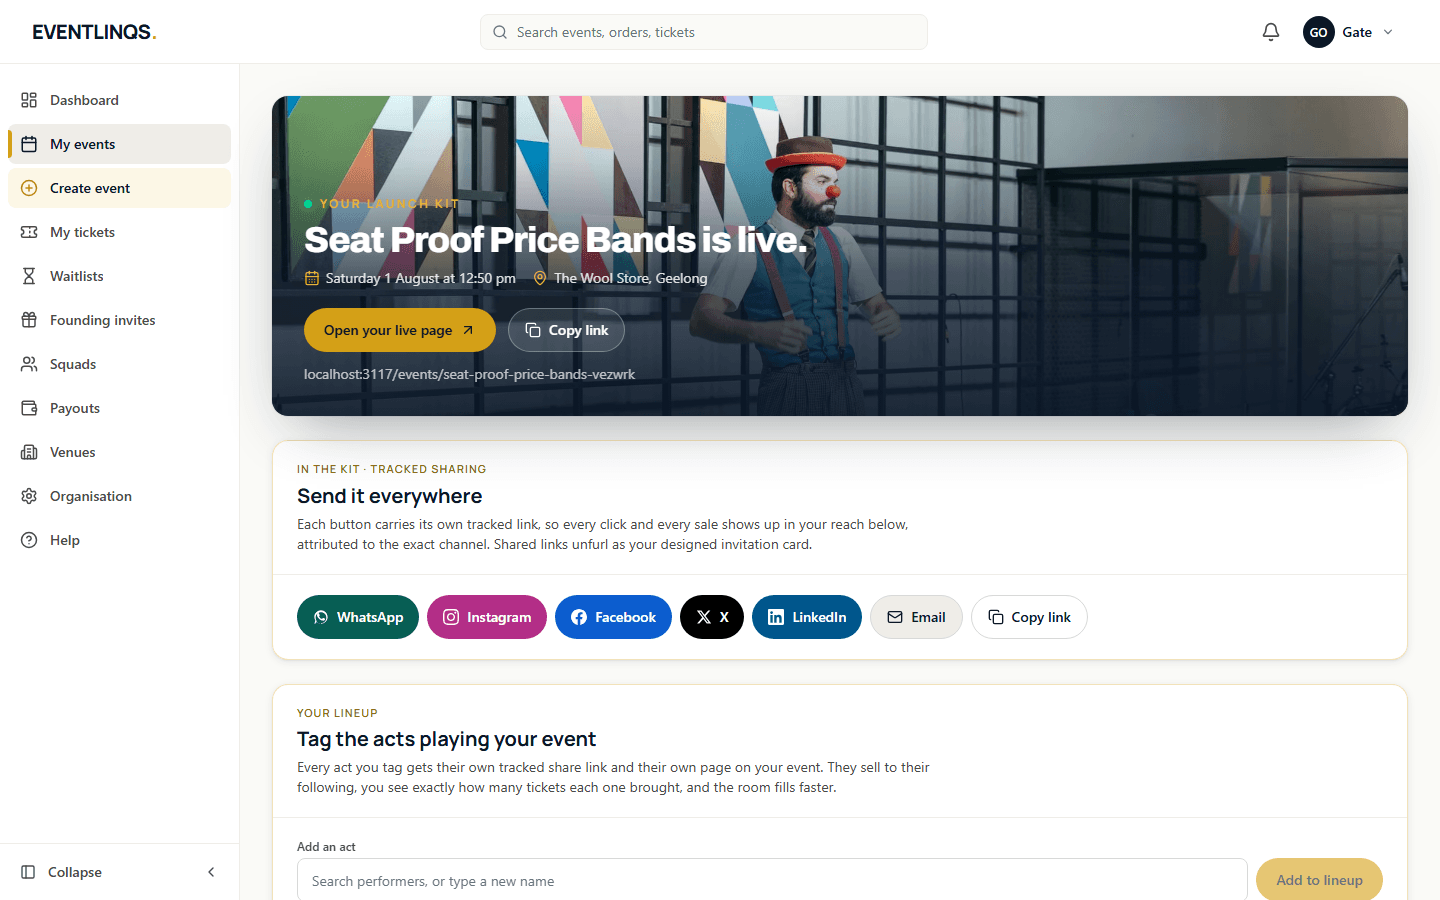
Promote and sell
Publishing and sharing your promo kit
The moment you publish, your event gets a kit: tracked share links for every channel, a printable QR poster and an invitation card that unfurls wherever you paste the link.
6 min read
Money and payouts
Getting paid and payout timing
Where the money sits between the sale and your bank account, what is taken out, and exactly when it moves.
8 min read
Does this match what you are seeing?
These guides are checked against the running platform, and every screenshot on this page was taken from it. If a screen has moved since, tell us and we will correct the guide as well as help you.