Mapping ticket tiers to seats
How a section on your chart becomes a price on a seat, why the match is by name, and how to catch the one mistake that quietly sells your best seats cheap.
6 min readChecked against the live platform on 26 July 2026
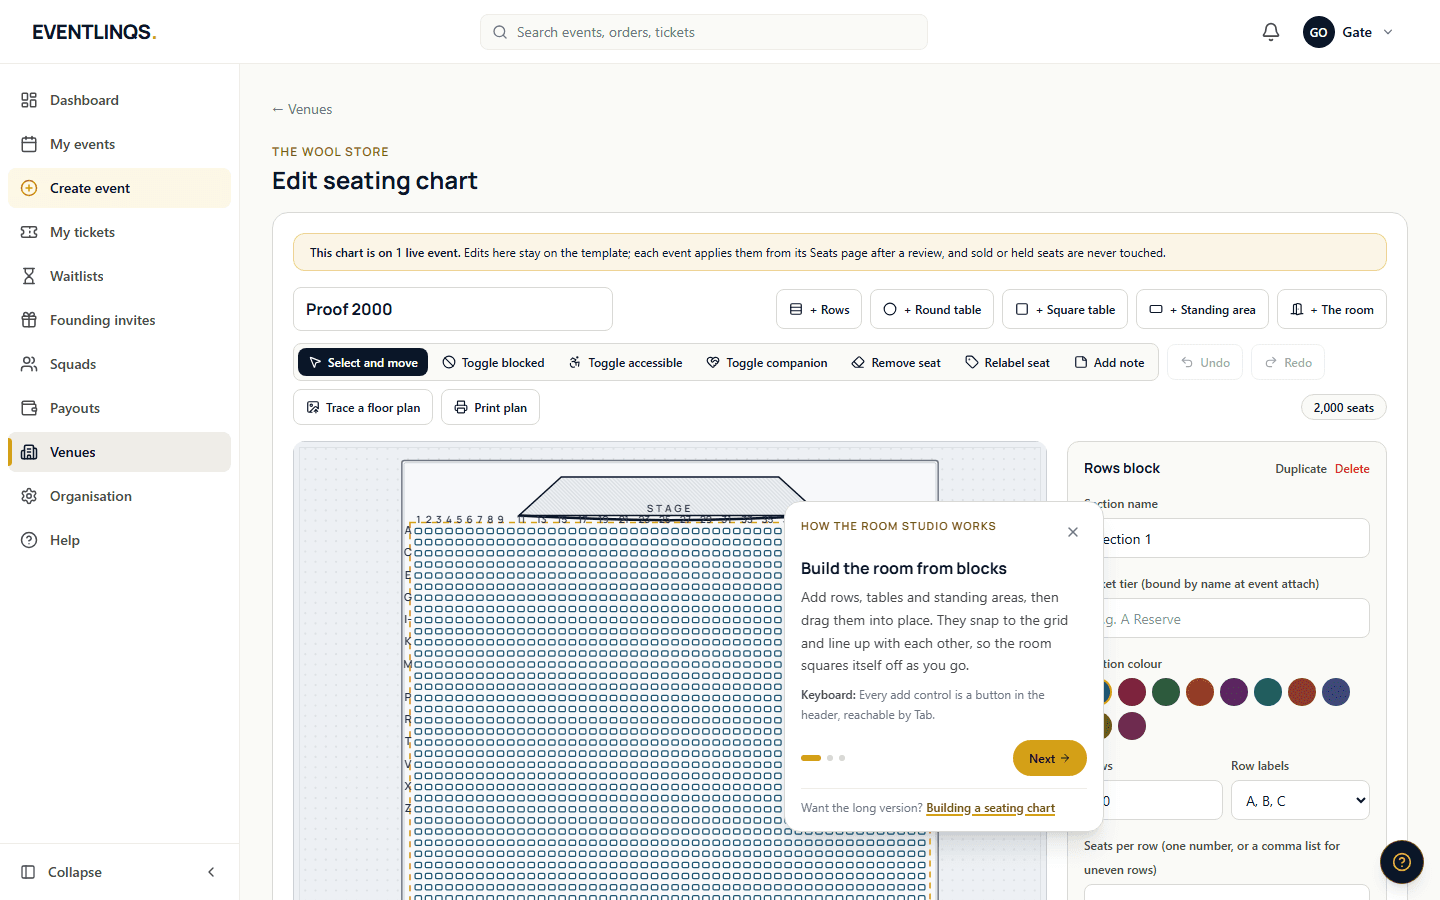
A seat has no price of its own. It takes its price from the ticket type its section is mapped to. Get that mapping right and the buyer map colours itself, the price bands work, and every seat sells at what you intended. Get it wrong and the room still sells, just not at your prices.
How the mapping works
Create the ticket types on the event first
On the event, in the Tickets step, create the types you want to sell: Premium, A Reserve, General, whatever your room calls them. Each has its own price and quantity. Do this before you map, because the chart matches against names that already exist.
Name the section on the chart
Select a block in the room studio. In the inspector, give it a section name. The section name is what the buyer sees on the plan and on their ticket, so use the name the venue and the door actually use.
Set the ticket type on the section
Still in the inspector, set the ticket type for that section. Type it to match your event ticket type exactly. Every seat generated from that block will be bound to that ticket type and will sell at its price.
Apply the chart to the event
From the event Seats page, apply or sync the chart. That is the moment sections become real seats in the database, each carrying its ticket type. Come back to this page any time you change the chart.
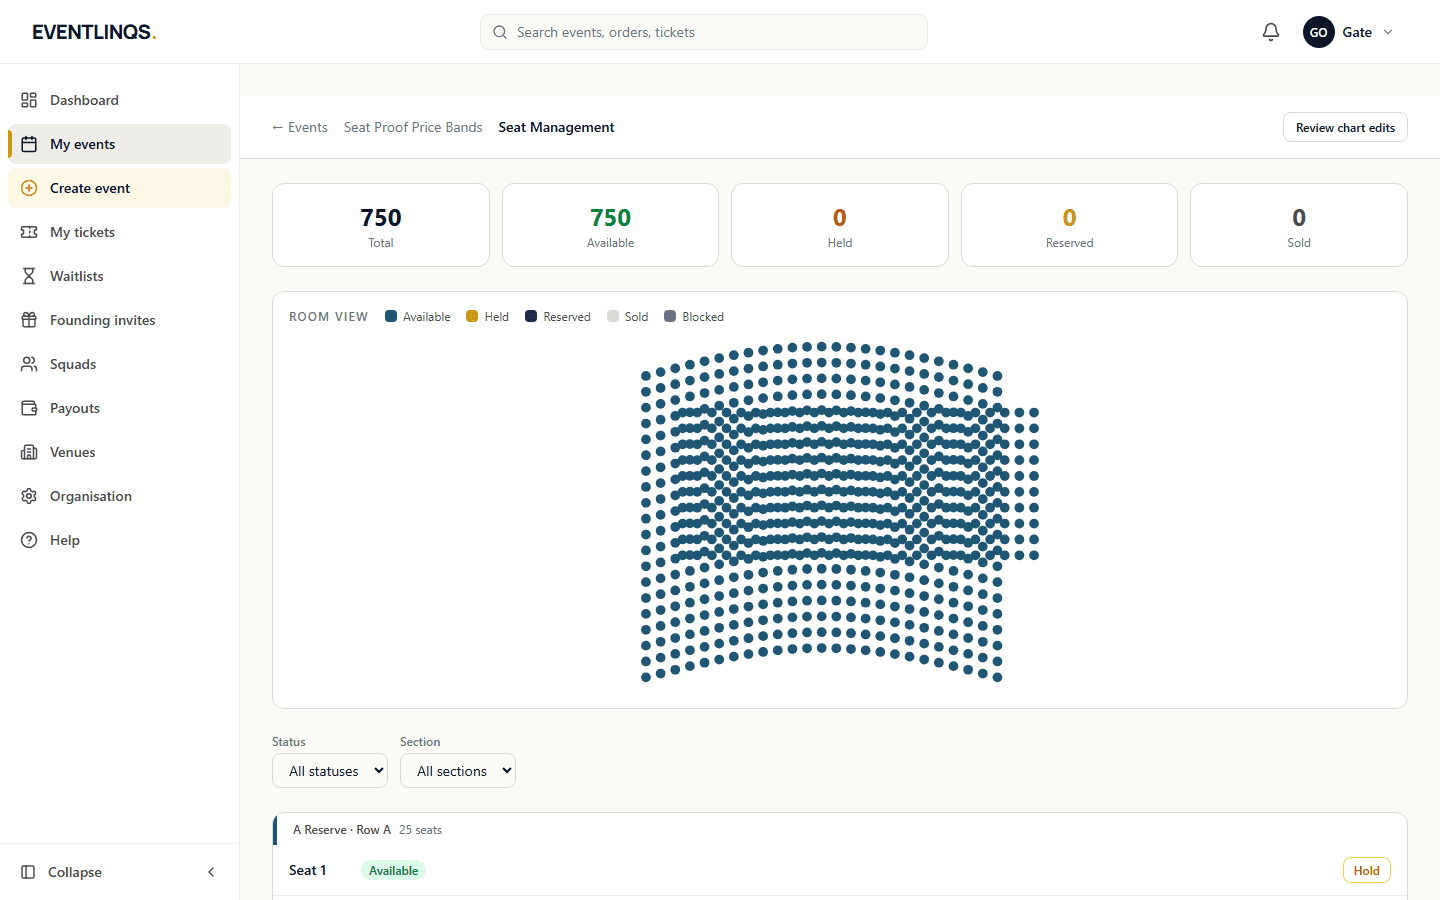
Check the mapping before you sell a single seat
Open your own event page and look at the buyer map as a buyer. Seats are coloured by ticket type, and the rail beside the plan lists every ticket type on the chart with its price and how many are open. That list is your proof. If a ticket type you expected is missing from the rail, no seat is bound to it. If the open counts do not add up to your room, some seats are unmapped.
- Every ticket type you priced appears in the rail beside the plan.
- The open counts across the ticket types add up to the seats you drew.
- Tapping a seat in your premium section shows the premium price, not the base price.
- Selecting a ticket type in the rail dims everything else, so you can see that section is the shape you expect.
Once the mapping is right, it stays right. Re-applying the chart later updates free seats and leaves sold ones alone, so you can keep refining the room while it sells.
Read next
Seating and rooms
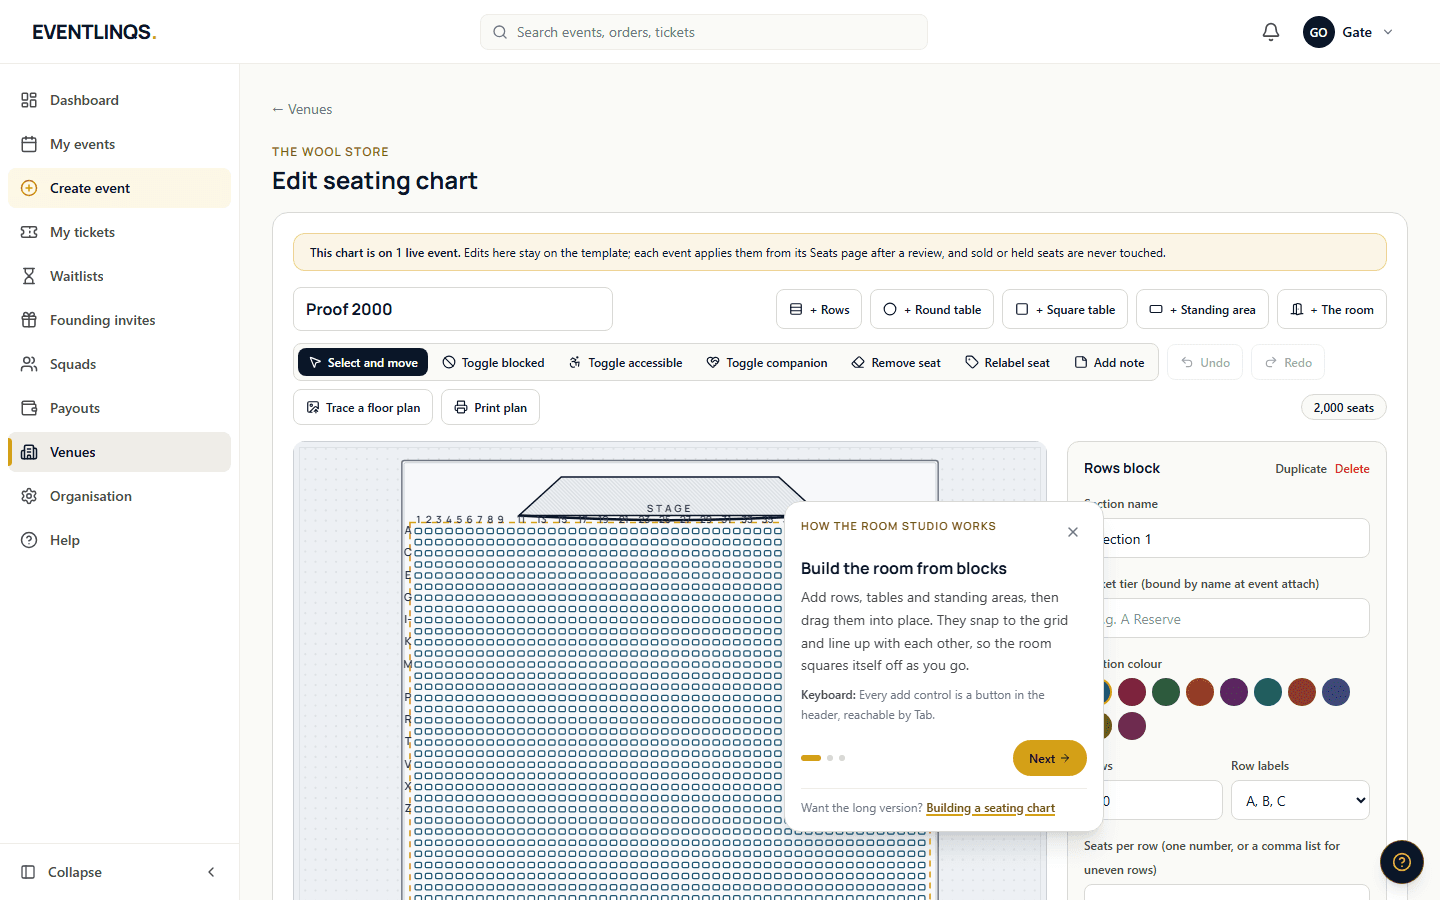
Building a seating chart
Draw your room once in the studio, from rows and tables to the stage and the bar, and reuse it for every event at that venue.
9 min read
Set up your event
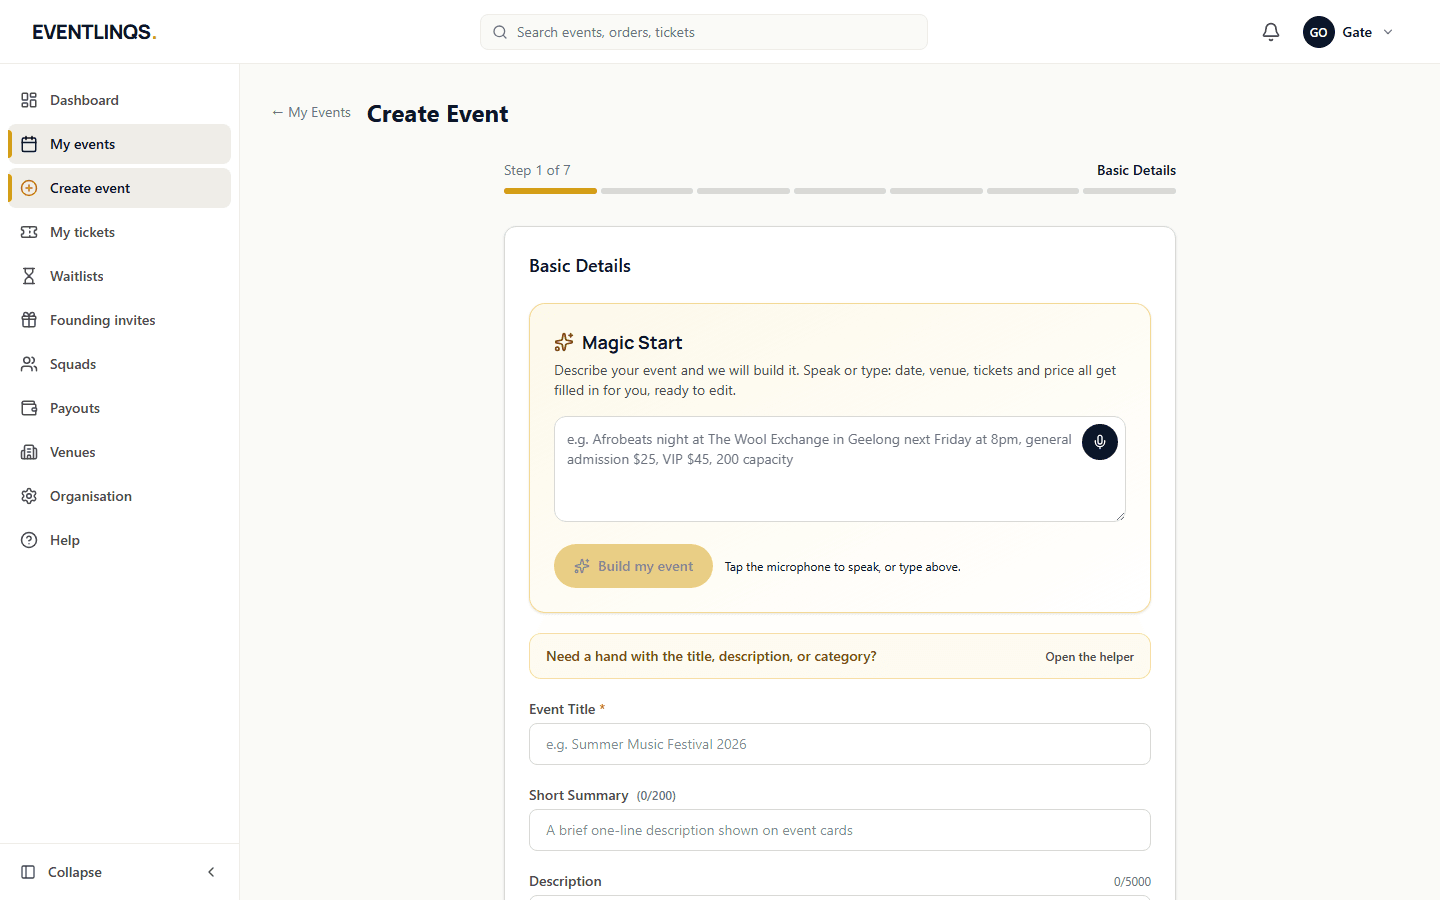
Creating your first event
The seven steps from an empty dashboard to an event page that is ready to publish, and what to get right at each one.
7 min read
Money and payouts
Getting paid and payout timing
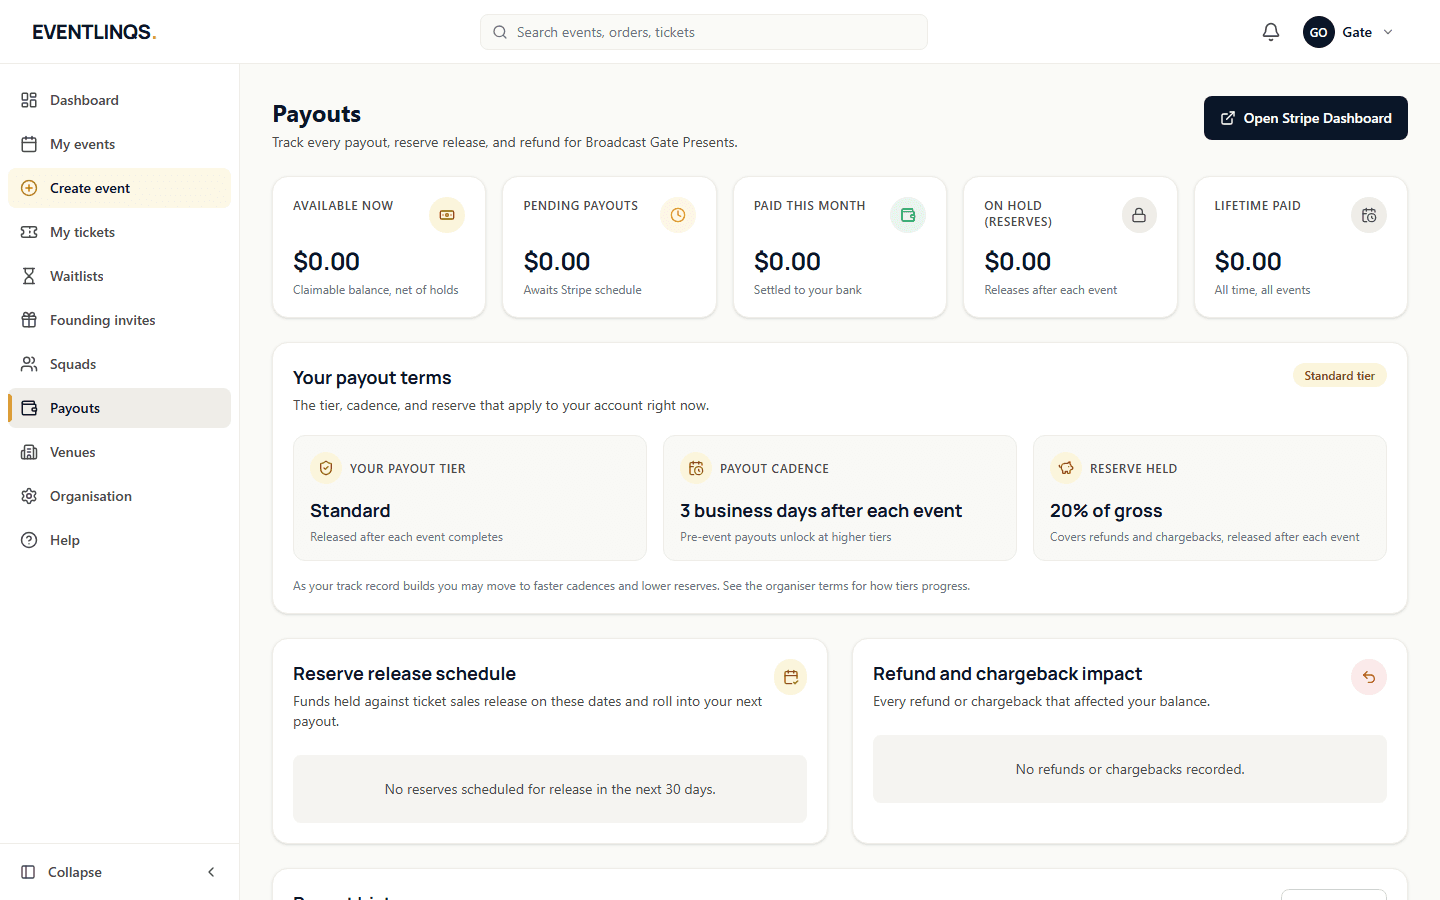
Where the money sits between the sale and your bank account, what is taken out, and exactly when it moves.
8 min read
Does this match what you are seeing?
These guides are checked against the running platform, and every screenshot on this page was taken from it. If a screen has moved since, tell us and we will correct the guide as well as help you.