Running the door with the QR scanner
Set your door team up, scan tickets on any phone, and understand every decision the scanner gives you before the queue is out the door.
7 min readChecked against the live platform on 26 July 2026
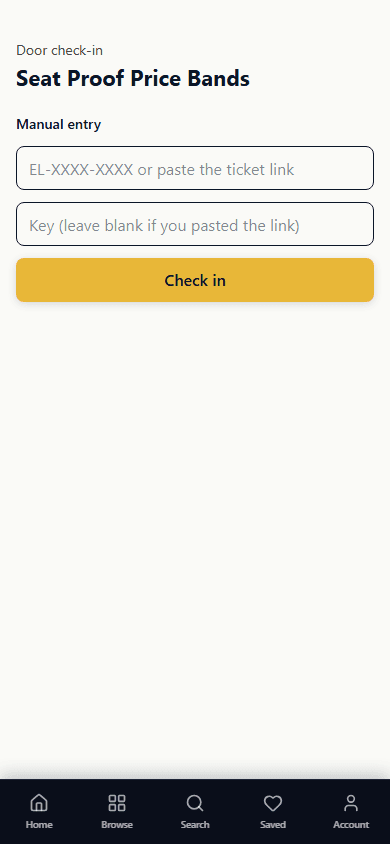
The scanner is a web page, not an app to install. Open it on any phone with a browser, sign in, and start scanning. That matters at the door, because the person you handed the shift to five minutes ago does not have time to install anything.
Before the doors open
Add your door team to the organisation
Scanning needs permission. The organisation owner can scan, and so can any member with the owner, admin or manager role. Anyone else gets a clear Not authorised message rather than a broken screen. Add people the day before, not at the door.
Send them the scan link
The scanner lives at a per-event address. Send it to your team, and have them open it and sign in before the first guest arrives so nobody is fighting a login in a queue.
Test one real ticket
Scan a real ticket for the event and watch it come back as an admit. Then scan the same one again and watch it come back as Already used. Now your team has seen both outcomes before it matters.
Check the phones
Camera scanning uses a browser feature that is available on recent Android and Chromium browsers. On other phones, including iPhones, the camera panel simply does not appear and the manual path takes over. Both paths reach exactly the same decision, so a mixed set of phones is fine.
The two ways in
Camera scanning is the fast path: point at the QR code on the guest phone or printed ticket and the decision appears. Manual entry is the universal path: type the ticket code and its key, or paste the whole ticket link the guest has open. A ticket code looks like EL-XXXX-XXXX, and it uses no letter that can be confused with a number, so reading one aloud in a loud room actually works.
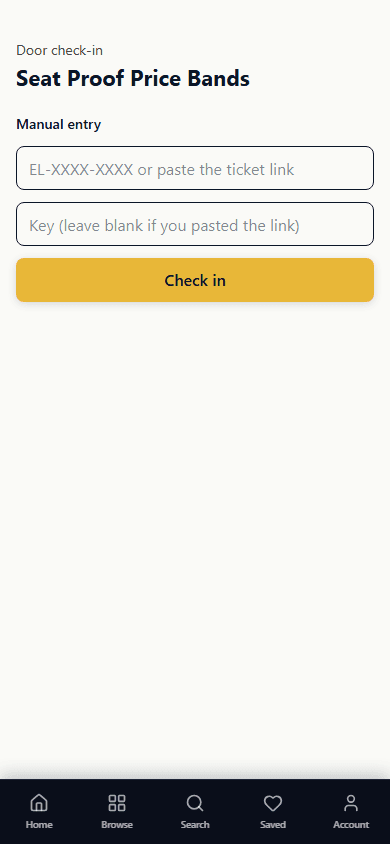
Reading the decision
Every scan resolves to one of two answers, in large type. ADMIT means let them in, along with the holder name and, for reserved seating, the seat to send them to. REJECT means do not, and it always names the reason.
- Already used: this ticket has been scanned. Usually a screenshot passed around, sometimes a friend already inside on the same code.
- Refunded: the money has gone back, so the ticket is dead.
- Void: the ticket was cancelled.
- Transferred away: the holder gave it to someone else, and the new code is the live one. Ask for the current ticket.
- Wrong event: a valid ticket, for a different night.
- Not found or Not valid: the code does not resolve. Retype it, or check they are not showing a receipt instead of a ticket.
After the event, the door result is already in your numbers: attendance sits alongside your sales, and any refund you process afterwards follows the path in the refunds guide.
Read next
Money and payouts
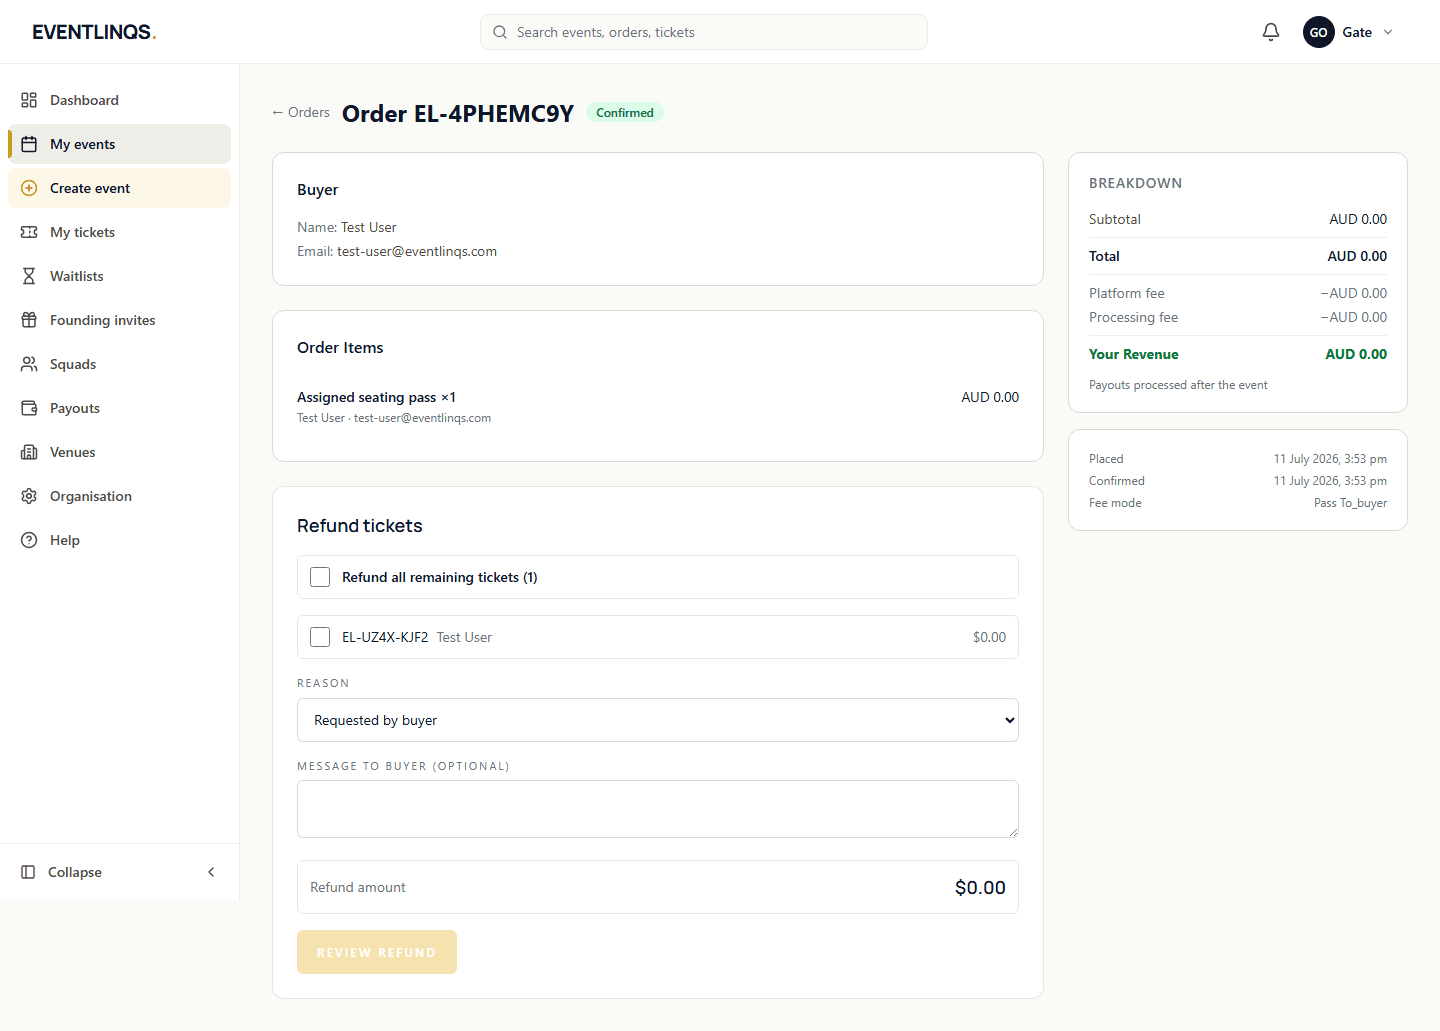
Refunds and transfers
How to refund part or all of an order, what the buyer gets back, and how a guest passes their ticket to someone else without involving you.
7 min read
Set up your event
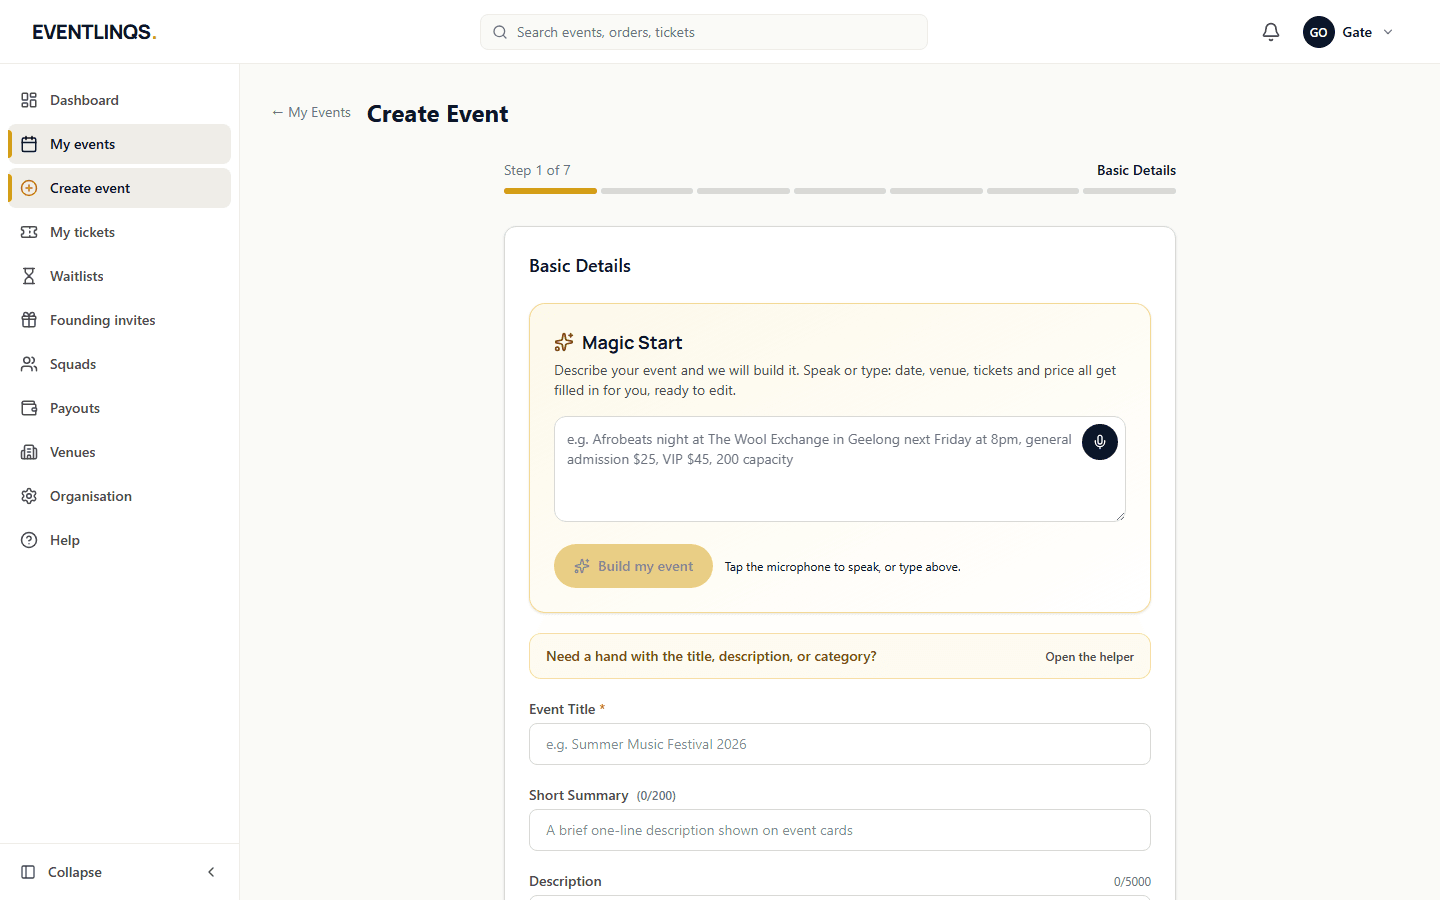
Creating your first event
The seven steps from an empty dashboard to an event page that is ready to publish, and what to get right at each one.
7 min read
Seating and rooms
Building a seating chart
Draw your room once in the studio, from rows and tables to the stage and the bar, and reuse it for every event at that venue.
9 min read
Does this match what you are seeing?
These guides are checked against the running platform, and every screenshot on this page was taken from it. If a screen has moved since, tell us and we will correct the guide as well as help you.